
This modification can be applied to the following Triumph models America/Speedmaster, Bonneville/Thruxton, and Scrambler. We are using a 2002 Triumph Bonneville T100 Carb model for this tutorial.
This is a step by step instructional document that will modify your motorcycle. Depending on the laws in your country this modification may be illegal. This is a high performance modification intended for race purposes only. Use At Your Own Risk!
Required Tools:
5mm Allen Wrench
8mm Wrench
13mm Wrench
13mm Socket
Needle Nose Pliers
Flat Head Screwdriver
Anti-Seize Lubricant
We used a British Customs Low Profile AI Removal Kit purchased through FS Motorcycle in Toronto, but any of the kits sold by most online suppliers will follow these same instructions.
Our Kit Included:
2x Air Injection Block Off Screws
2x Copper Washers
4x Rubber Nipples
1x Air Injection Plug
Preparation:
Secure the Motorcycle in a well lit, flat and ventilated work area. Make sure the motorcycle and the work area are clean and free from dirt, debris and residue. Prepare an area to rest your gas tank making sure not to rest the tank on the petcock and painted areas. Since the motorcycle will be partially disassembled now is a good opportunity to renew your spark plugs and clean the impossible to reach areas of the motorcycle that seldom see the light of day.
Step 1: Remove The Seat.
Remove the seat to allow access to the battery and gas tank removal bolts.

Step 2: Remove The Battery.
Remove the rubber strap that holds the battery in place and undo the two connections - It is important that you remove the RED TERMINAL FIRST. Remove the BLACK TERMINAL SECOND, remove the battery and place it where it cant be knocked over.

Step 3: Remove The Gas Tank and Side Panels.
TURN THE FUEL TAP OFF. The gas tank is held on to the motorcycle using two 8mm bolts under the seat and two fuel tank front mount rubbers. Remove the bolts using a 8mm Wrench and gently move the tank back freeing it from the mounting rubbers. With the gas tank free remove the fuel line by compressing the spring clamp, as well as removing the gas tank vent line on the right underside of the gas tank. Remove the gas tank and secure it making sure not to damage the petcock and underside. Remove the left and right side panels using a coin or flat head screwdriver and place in a secure area making sure not to scratch or damage them.


Step 4: Plug The Air Box Injection
Remove the air box injection hose from the factory air box by hand and use the supplied AIR INJECTION PLUG to plug the hole. You can remove the black hose from the valve assembly and set it aside.


Step 5: Plug The Carburetor Vacuum Port
Remove the hose attached the the vacuum port on the left carburetor and use one RUBBER NIPPLE to cap it.


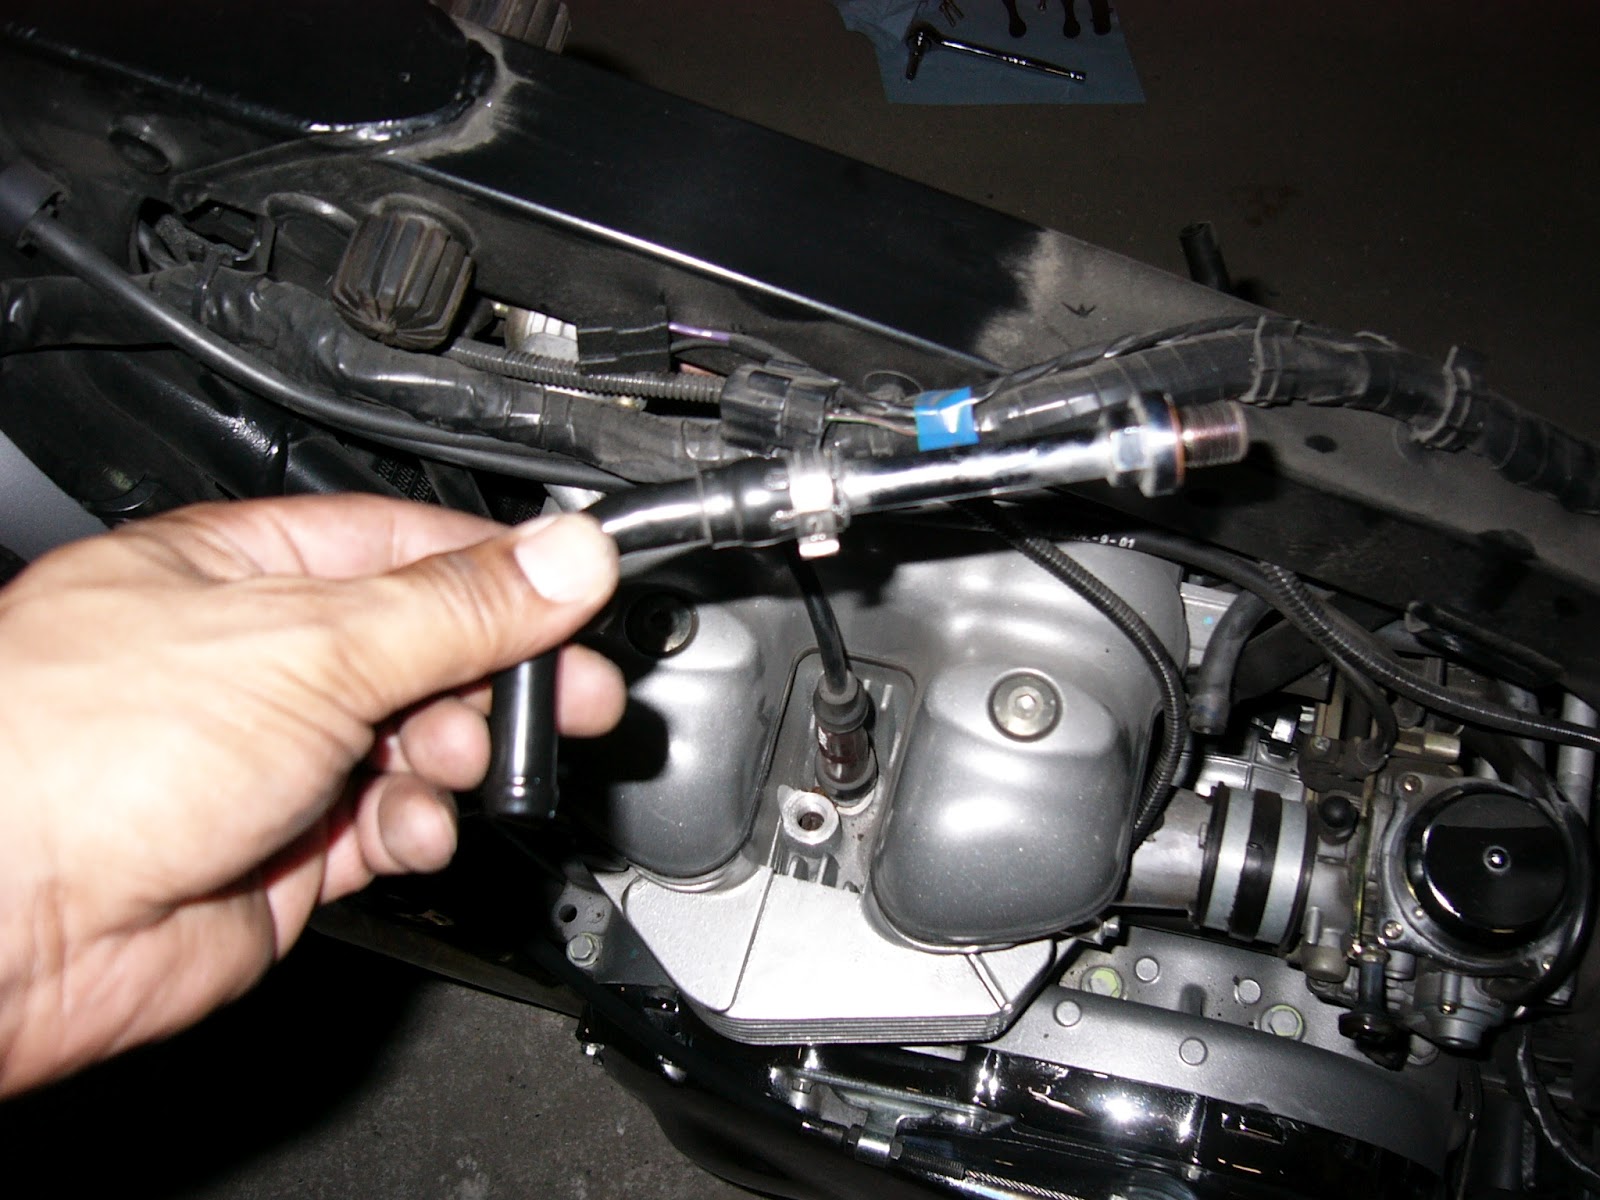
Step 6: Remove The Air Injection Controls
Remove the two black hoses that are connected to the air injection tubes on the engine head and set them aside. Using a 13mm Wrench loosen and remove the air injection tubes from the engine head and set aside. I have read about others having to crimp and break the tubes to remove them but our removal was simple and the entire system was removed undamaged. Before installing the AIR INJECTION BLOCK OFF SCREWS place a COPPER WASHER on each screw and coat the screws with anti-seize lubricant. Make sure the area around the engine head is free from debris. Insert each bolt and tighten using a number 5 Allen Wrench. Do not over tighten.


Step 7: Remove The Air Injection Valve Assembly
Locate and remove the two bolts that connect the assembly to the motorcycle frame using a 13mm Socket. Remove the assembly from the motorcycle and set aside.

Step 8: Reassemble The Motorcycle
Reattach the gas tank, battery, side panels and seat in this order. Your Triumph Motorcycle Secondary Air Intake Removal is now complete, you may start the motorcycle.

Motoblogn © 2012
No comments:
Post a Comment